Qt for Embedded Systems (Raspberry Pi)
J1939 CAN Communication and Dashboard Framework
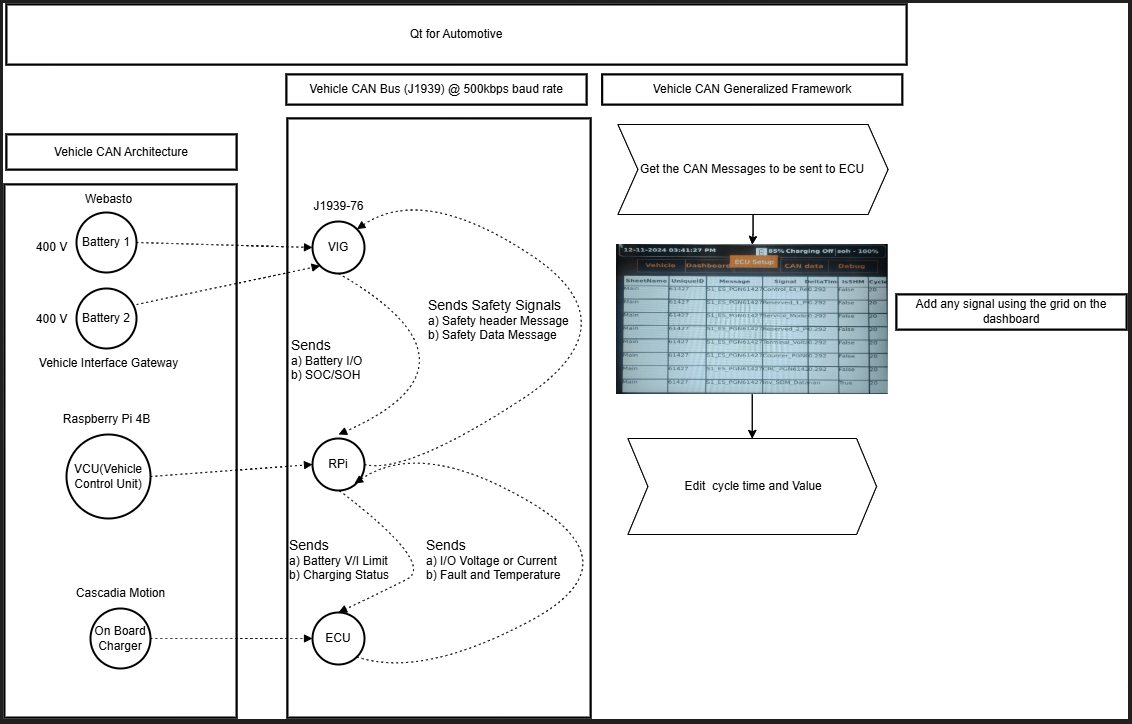
The system is built on Qt for Embedded for Raspberry Pi 4B, providing an embedded framework optimized for multi-threaded programs on the Vehicle Control Unit (VCU). It includes CAN libraries for simplified configuration.
System Overview
a. CAN Nodes:
- Batteries (800V) connected to the Vehicle Integration Gateway (VIG).
- Raspberry Pi (VCU), charger, and other ECUs.
b. Vehicle CAN Bus: Operates at 500 kbps. c. J1939-76 Protocol: Used by the VIG for communication.
- Other nodes like inverters, pdu
Communication Flow
a. VCU (Raspberry Pi):
- Sends Safety Header Messages (SHM) with safety data and checksum.
- Follows with Safety Data Messages (SDM) containing cruise control and high-voltage data.
b. VIG:
- Transmits battery details (voltage, current, power, SOC, SOH).
- Communicates voltage and current limits to the On-Board Charger (OBC).
c. OBC:
- Responds with voltage, current, temperature, and fault status.
Generalized Framework
- UI Interface: Allows users to add new nodes and signals via the vehicle dashboard.
- Customizable: Easily configure cycle times and values for new signals.
Key Features
- Qt for Automotive: Optimized for embedded systems.
- J1939-76 Compliance: Ensures standardized communication.
- Scalable: Add new nodes and signals through a user-friendly interface.
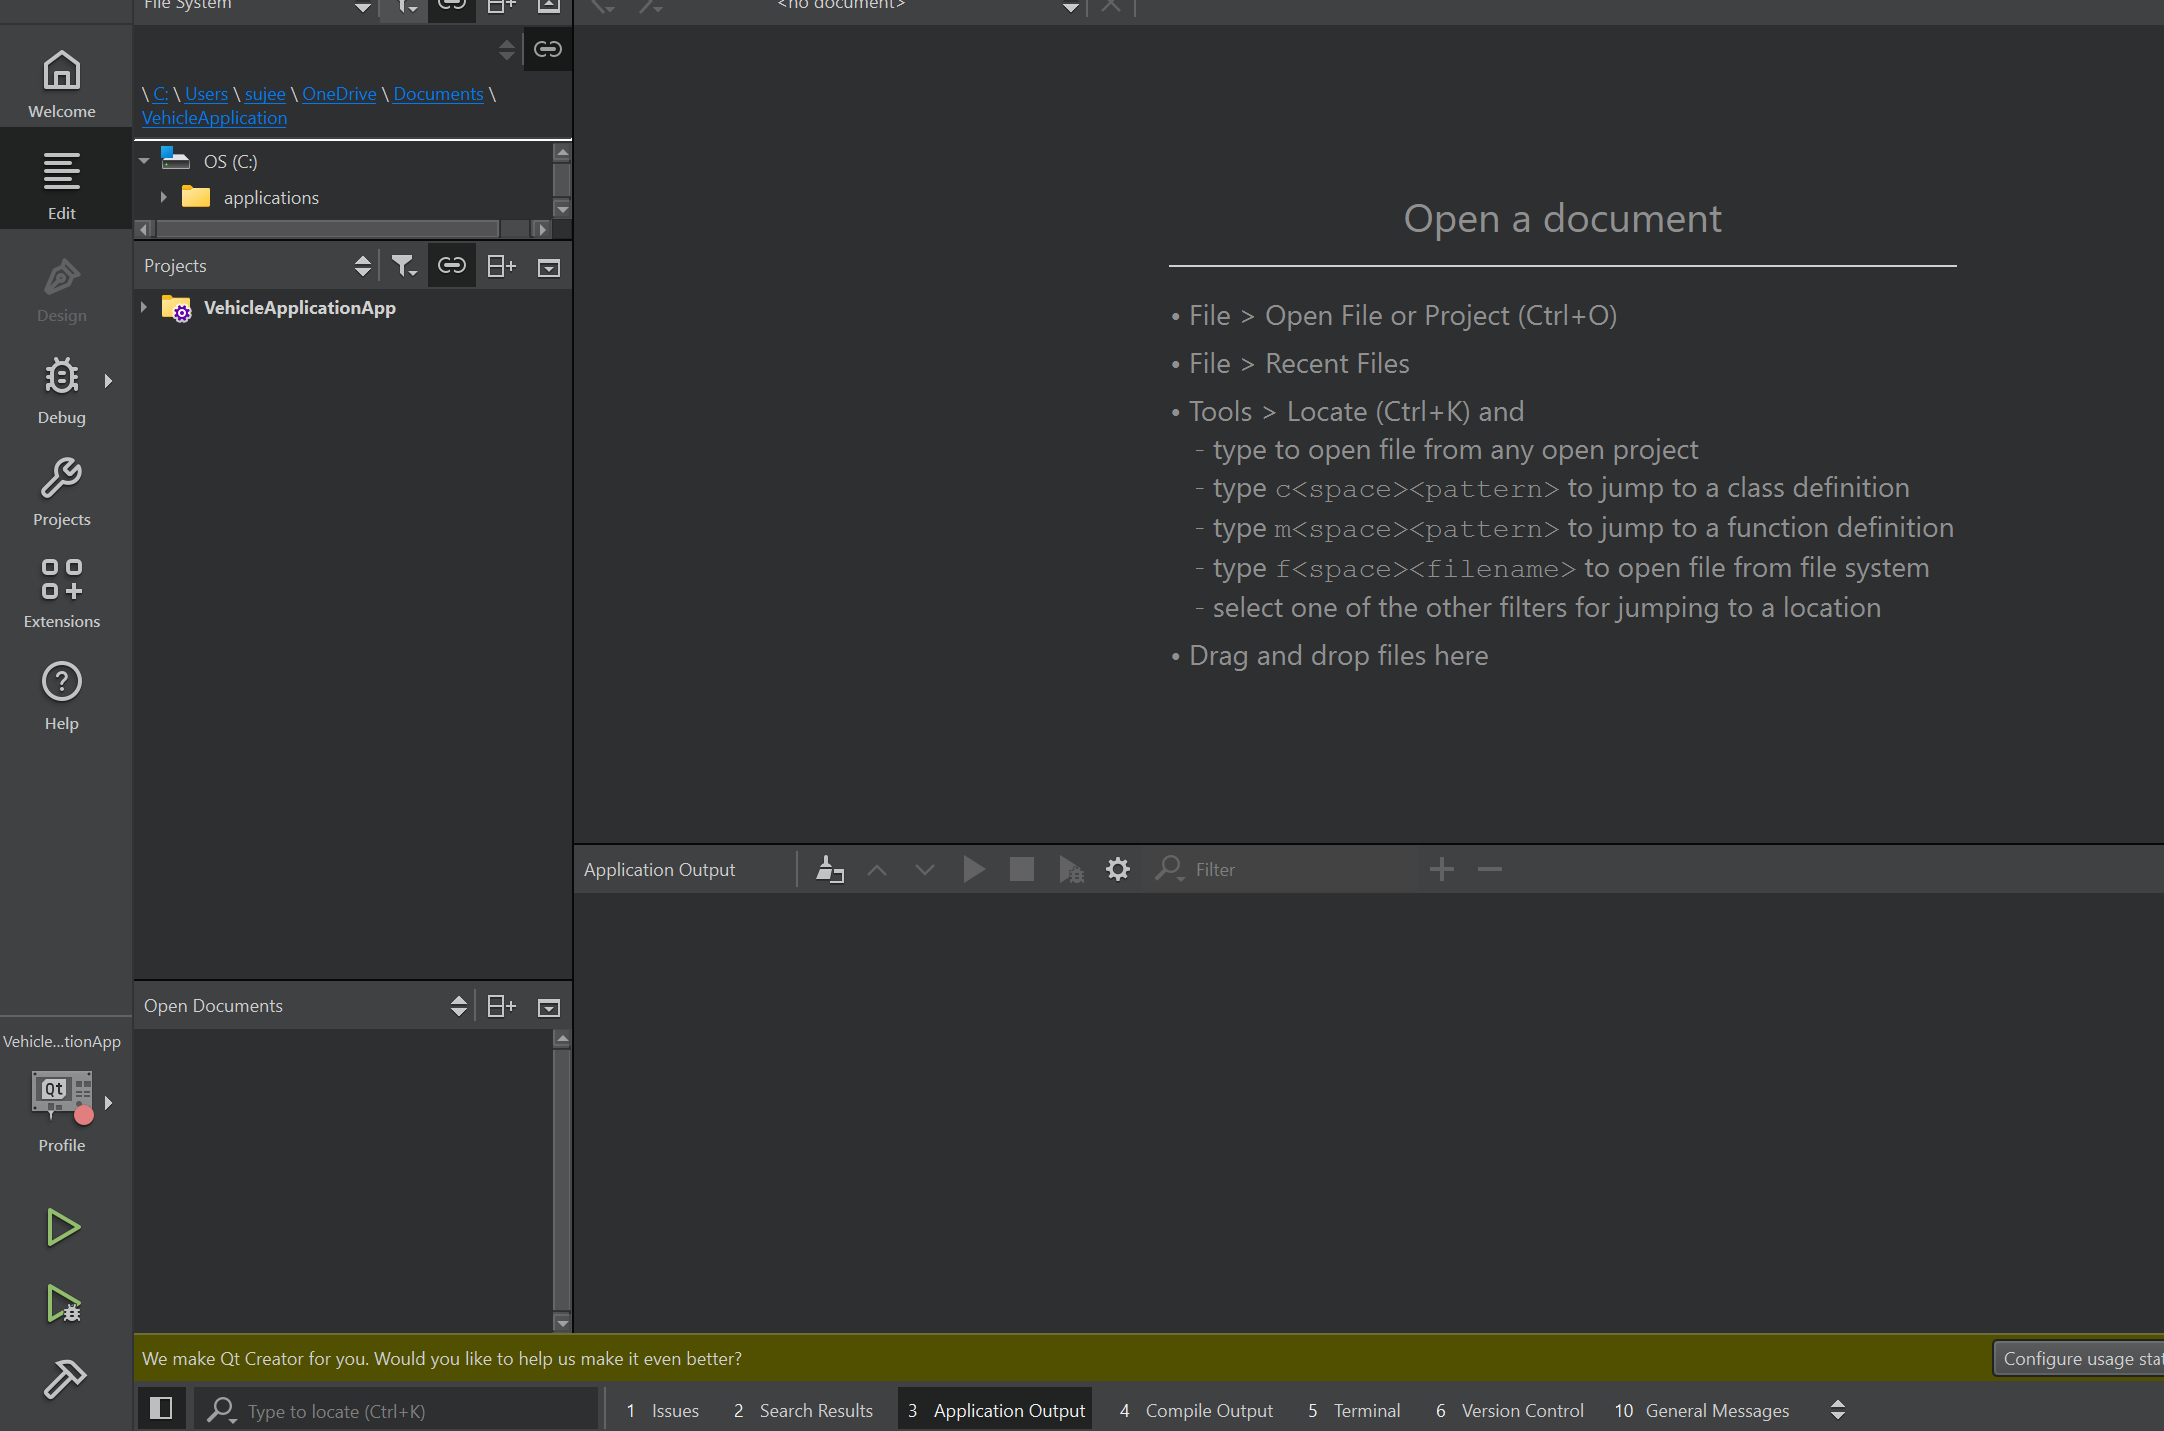
Qt Creator
- What It Is: A cross-platform IDE for developing Qt applications.
- What We Use It For:
- Write and debug C++ code for embedded systems.
- Build and deploy Qt applications to the Raspberry Pi.
- In my repo the starting point of the code is main.cpp where everything starts
Qt Designer
- What It Is: A drag-and-drop tool for designing user interfaces.
- What We Use It For:
- Create QML-based UIs for embedded applications.
- Visually design interfaces without writing code.
- In my repo the starting point is MainForm.ui.qml
Why Qt for Raspberry Pi?
- Cross-Platform: Develop on your PC and deploy to the Pi.
- Performance: Optimized for embedded systems with limited resources.
- Ease of Use: Combines powerful tools like Qt Creator and Qt Designer for seamless development.
- For more detailed information on how to install go to here
My Repo
- For the application code please go here
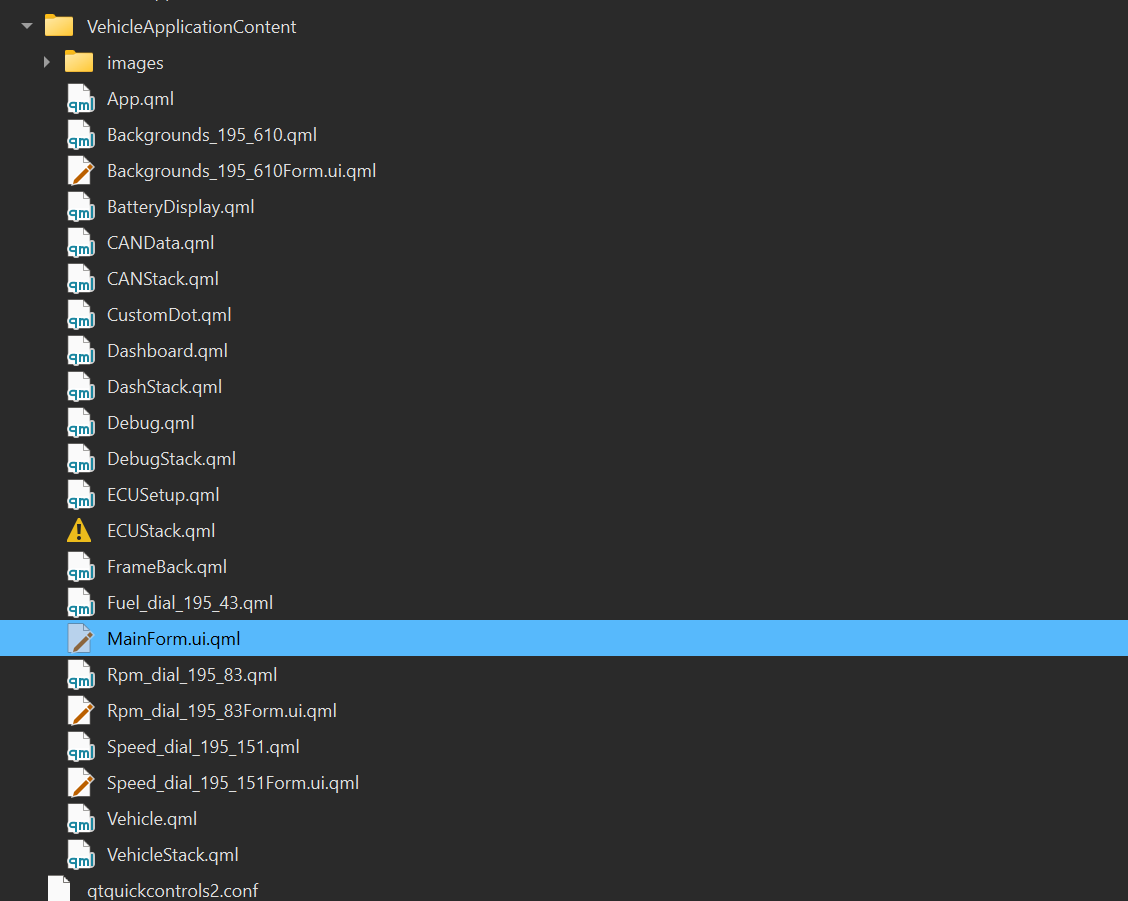
- This is where all the GUI code resides
- Images folder is where some of the ui assets are stored (most of the things are from templates available within Qt-Designer)
- MainFrom.ui.qml loads all other qml
- Files ending with "Stack" will load each tab
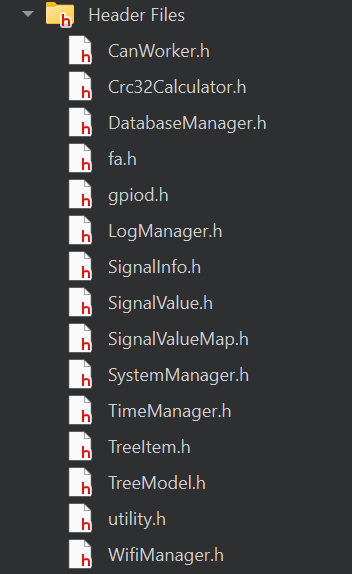
- All the source cpp most of it has header (.h) and (.cpp) implementation of the header file data
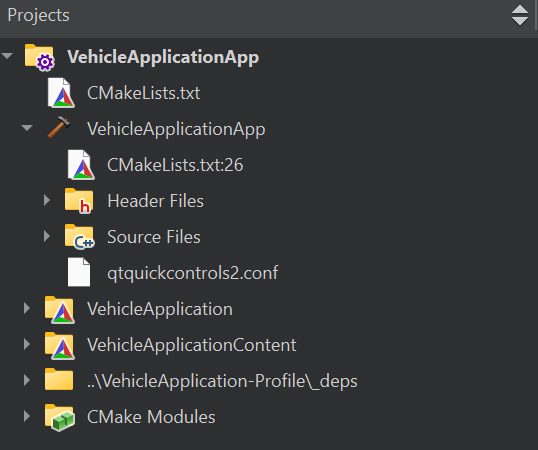
- Project Directory looks different in both Qt-Designer and Qt-Creator. It shows only editable files within their respective software
- CMakeLists.txt file will have how to build the project. Make sure all the libraries like gpio is properly located and edited here.
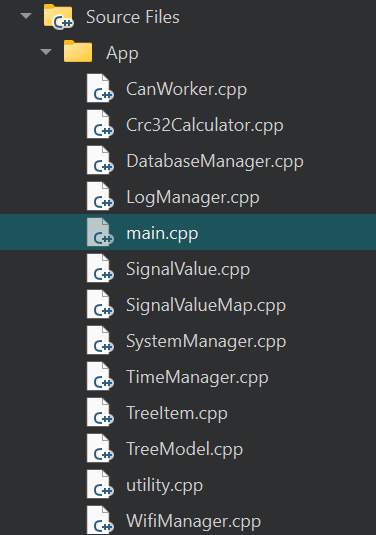
- Starting point of the code is main.cpp main() function.
- Briefly it reads the data from sql db (The data we migrated or which sits in ECU Tab) essentially all the signal values compares against dbc files to validate and then starts sending at their respective time cycle in CanMessageSender class. Other than this once you hit Deploy on Qt-Creator it also launches the UI or the front end for interaction.
Where to edit and troubleshooting?
- Start from main.cpp understand the flow of code
- This is a multithreaded application understand the signal slot mechanism of Qt from the official website
- The cpp data gets transfered to qml by registering classes you can see in the main.cpp files
- These exposed api in cpp are used in qml to show on the ui
- So, debug from reverse as in from the front end qml to the cpp file
- There are at times your code will not reflect in the dashboard due to cache. So, you can check these kind of issue by printing data using
1 | |
- If you see after code change nothing is printing then delete the release or the debug folder which will always be created on each build in the source code directory
- At times due insufficient power supply or sudden abrupt power off. You will see application crashing at init page. When this happens ssh to the Rpi and delete the cache as shown below
1 2 3 | |
- At times the storage of the Rpi becomes full due to vscode server if you are using vscode everytime to do ssh then ssh through terminal not through vscode and clear the vscode temp files (unused)
- Don't hesistate to use GPT to fix issue.
How to launch the Dashboard from the Laptop?
- This is required although you see on Rpi power on the dashboard screen it will not be operational unless you connect usb or ssh
- Better have a Y-Cable which splits the usb to two usb one purely for data or ssh and other for the power
- Currently the app will be fully functionaly if you deploy from Laptop with Qt-Creator installed